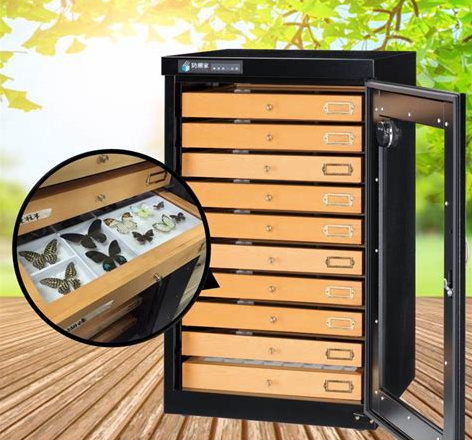
inquireof the price here.)
These types of cabinets come in all sorts of sizes and designs from various sources.
....~*~....~*~....~*~....~*~....~*~....~*~....~*~....~*~....~*~....~*~....
Now that you've begun ethically collecting insects, you'd probably like to keep them for a very long time,
especially since finding them was a challenge. You'd also probably like to see them once in a while if not
frequently. Unfortunately that can be a little tricky as another big problem that can be almost as devastating
to collections as dermestids is LIGHT.
This is another big mistake I made when I first started collecting. I had already read that UV could
damage specimens and was aware of cabinets made specifically for storing them and keeping light out. These cabinets
were costly, took up floor space which I was quite short on at the time, but I did have wall space. I wanted
a wall with mounts of insects like one might see at a natural museum or nature center.
inquireof the price here.)
My solution to this problem was to keep the shade always drawn in the room I hung them on the wall in. It didn't
block all light, but kept it down quite low. I also used a small art light on the wall above them. I loved seeing them
every time I was in that room, but I spent a lot of time in that room and the light was on for long periods. I learned
very quickly that it was too much, and even artifical light could quickly fade and degrade specimens. When
would I find another Imperial moth? Odds are super low. How could I replace the Lunas that my step-mom gave me for a
birthday present before she understood that I didn't want anything killed? Well since I've only ever seen 1 living Luna
moth in my entire life, the odds for that are probably zero. I took them down and stored them in cardboard boxes so that
no more damage could be done. I didn't really have another place I could put them.
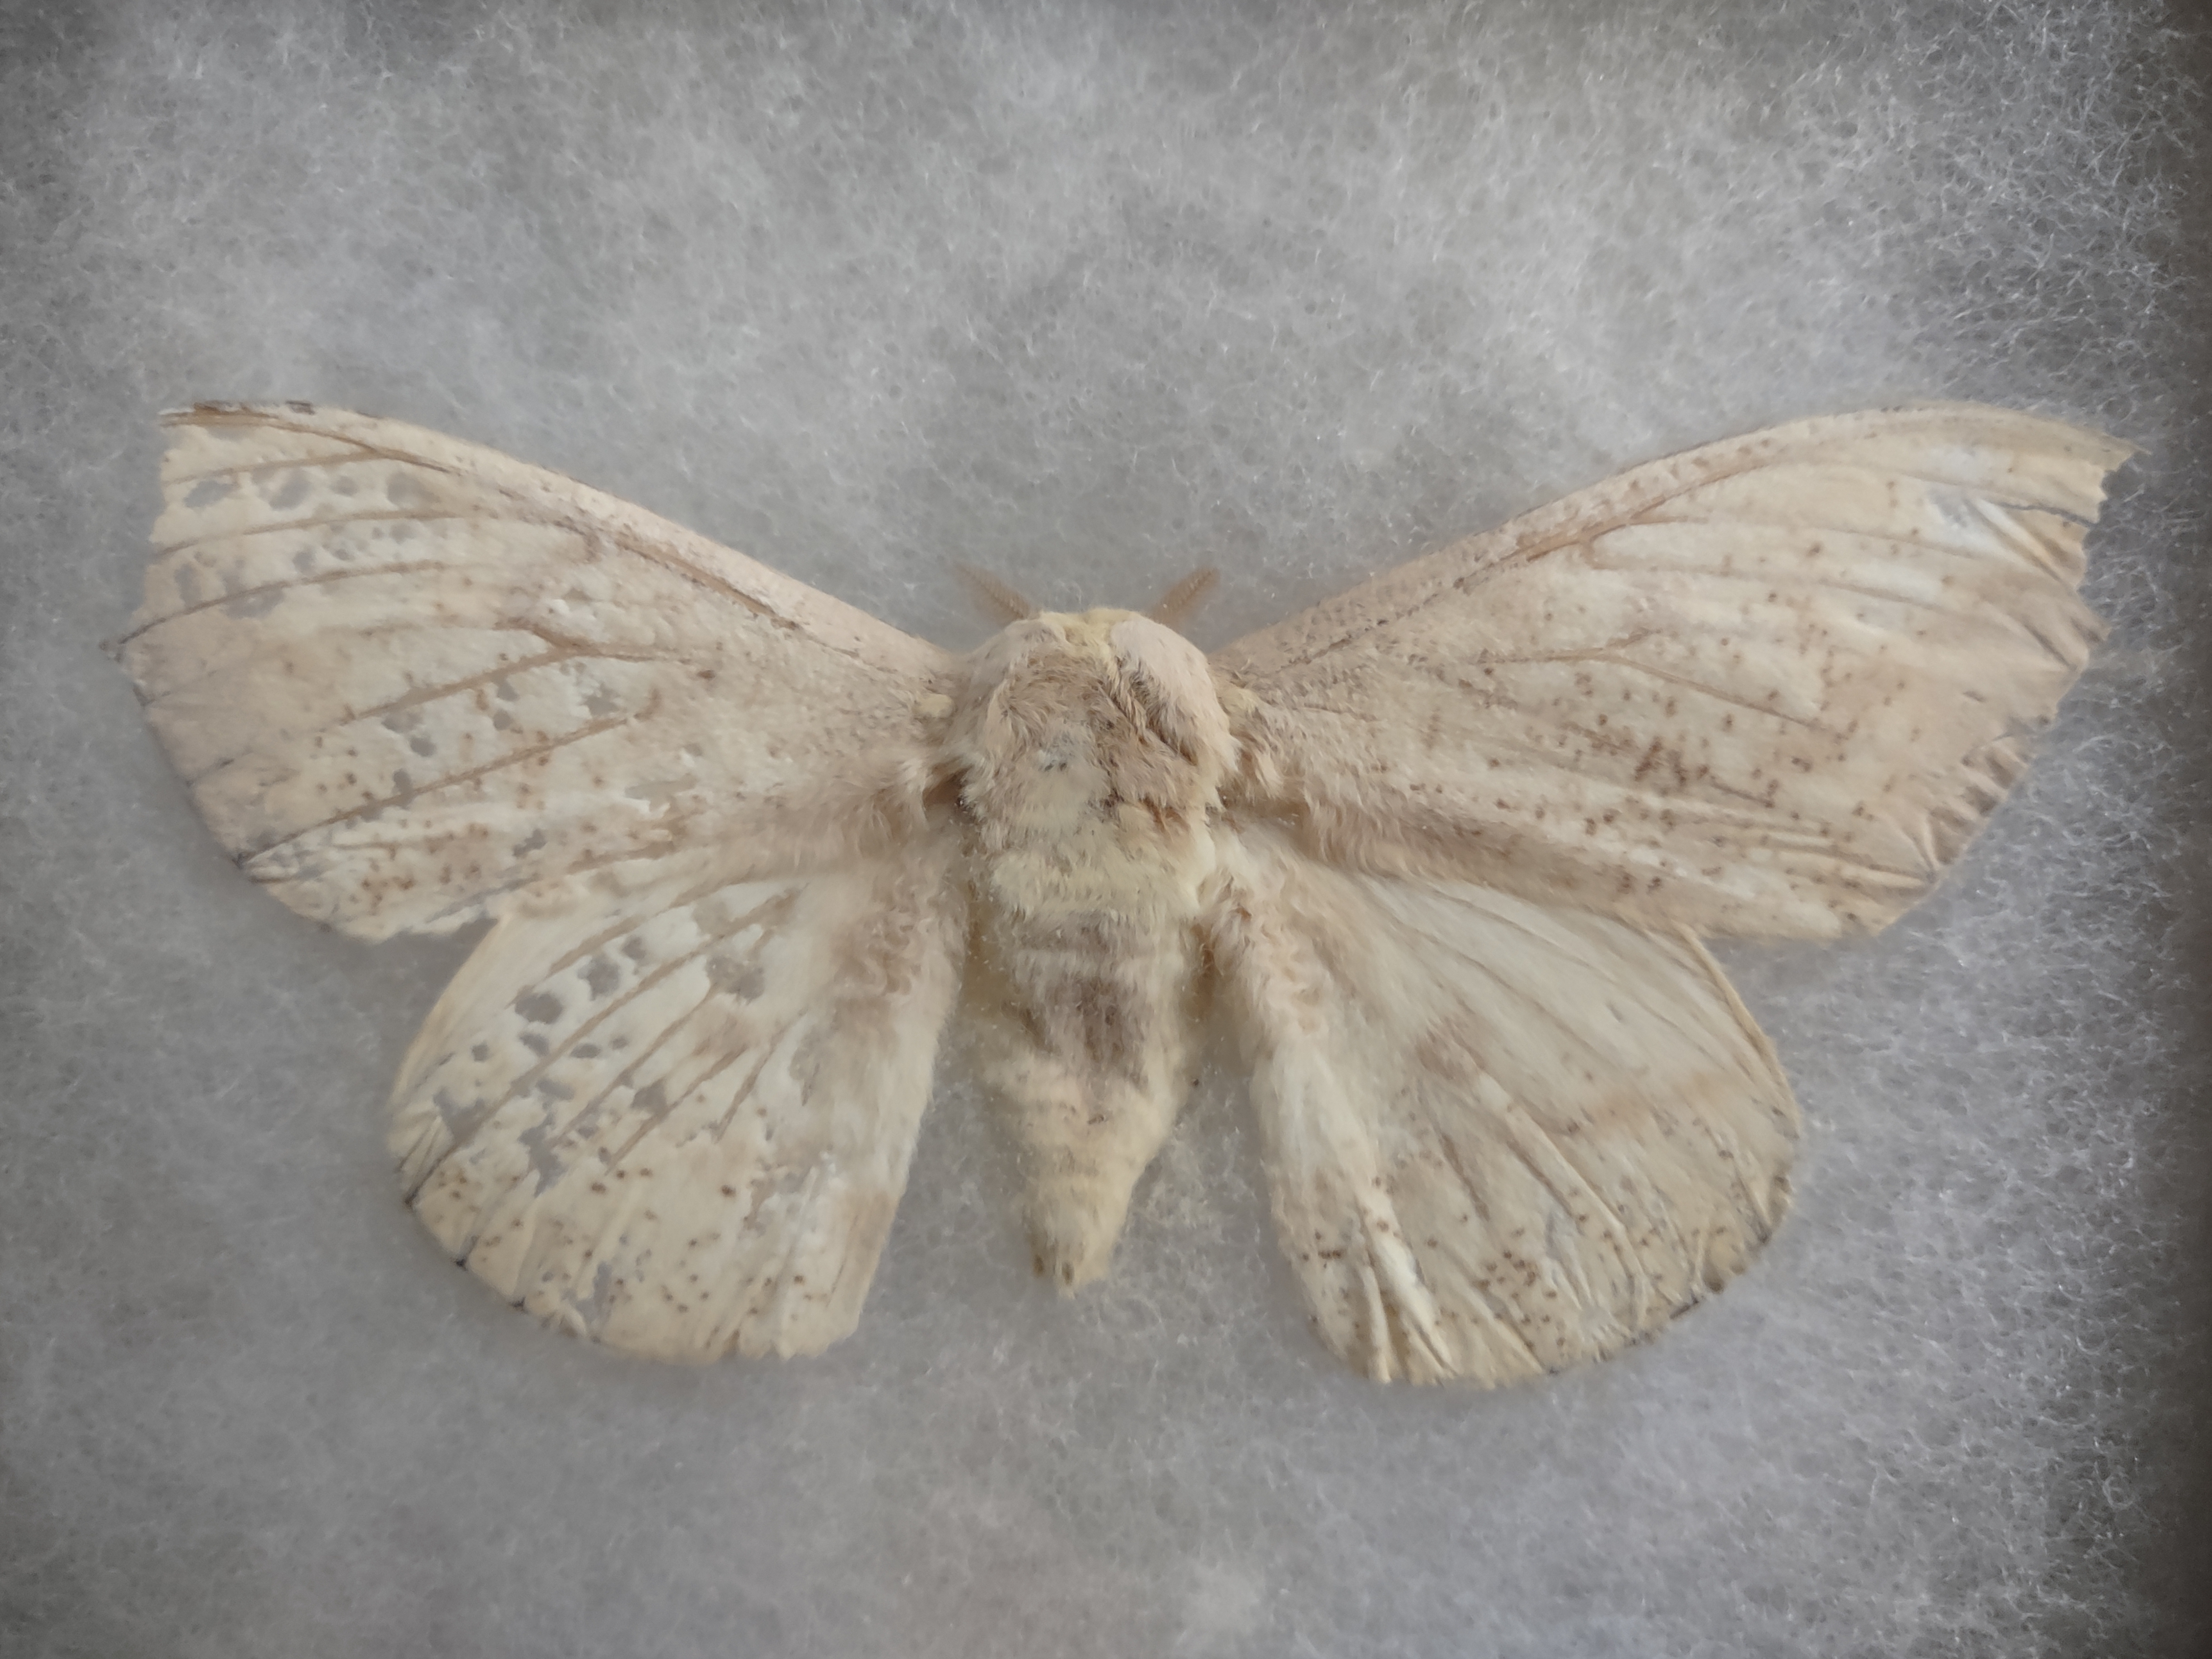

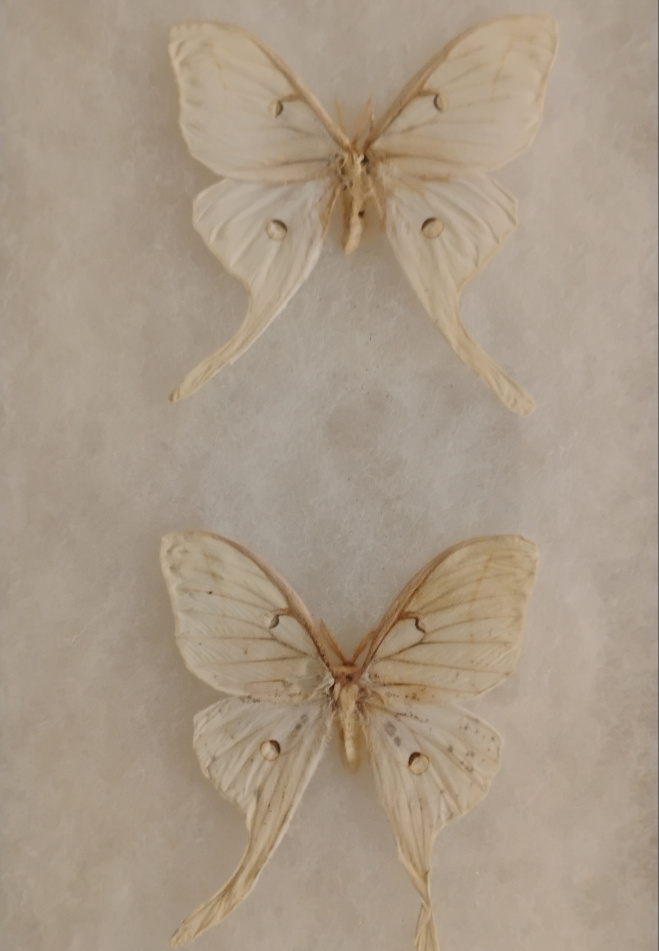
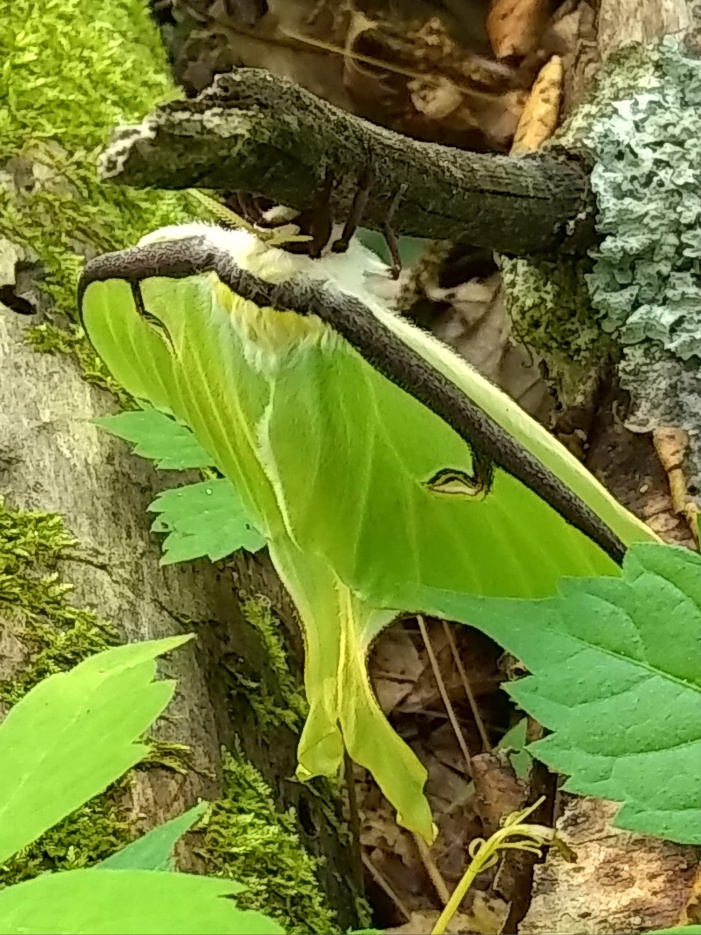
You can see now how much light is detrimental to insect specimens. I have since moved to another house where I am
lucky enough to have a large spare room for all sorts of the natural things I collect and my light prevention measures
here are maybe a bit extreme. Before this spare room was ready, with rock wool insulation wrapped in large black plastic
trash bags and sandwiched between the windows and an interior storm window covered by thick black curtains, I had them
hanging in a dark hallway. That was probably sufficient as no fading of any specimens occurred for the year I had them
there. So if you have a spare room that you aren't spending a lot of time in, a hallway without natural light, or even
a large closet where you can hang them, you can have an insect wall.
....~*~....~*~....~*~....~*~....~*~....~*~....~*~....~*~....~*~....~*~....
Perhaps you found an insect with a torn wing. Perhaps you accidentally knocked a wing, antenna or head
off when trying to spread it. Maybe your cat knocked one of your mounts off the wall and some part of it came apart, or maybe
you live on a fault line. Fret not! These things happen and can be usally be fixed.
Can you tell which one of these sphynx moths had an entire forewing glued back on? Hint: it's not the middle one.
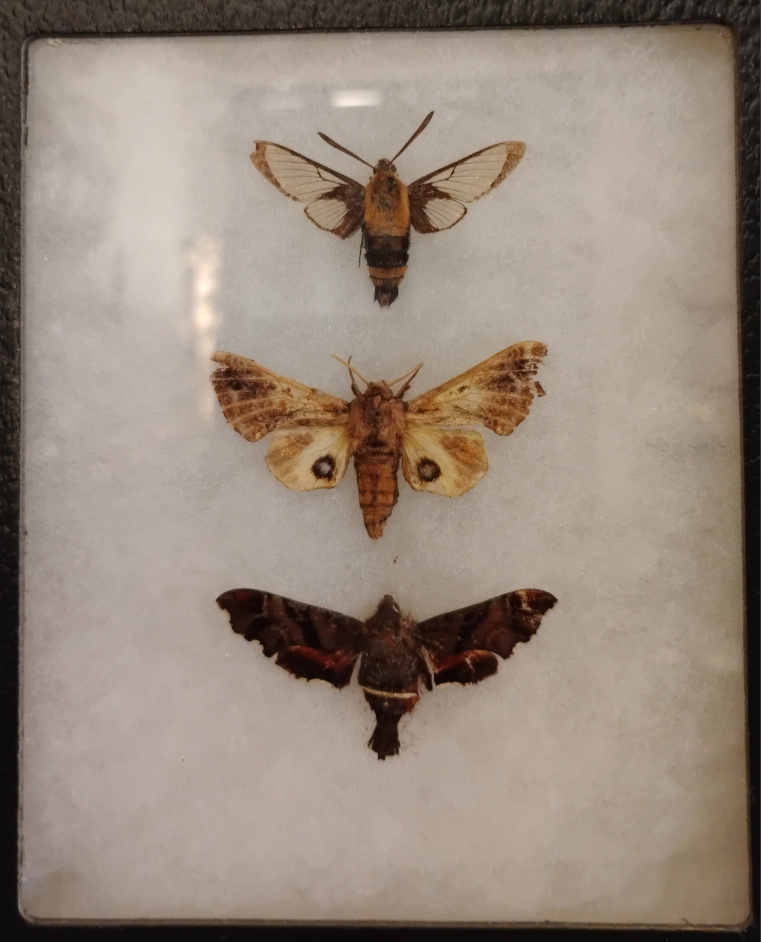
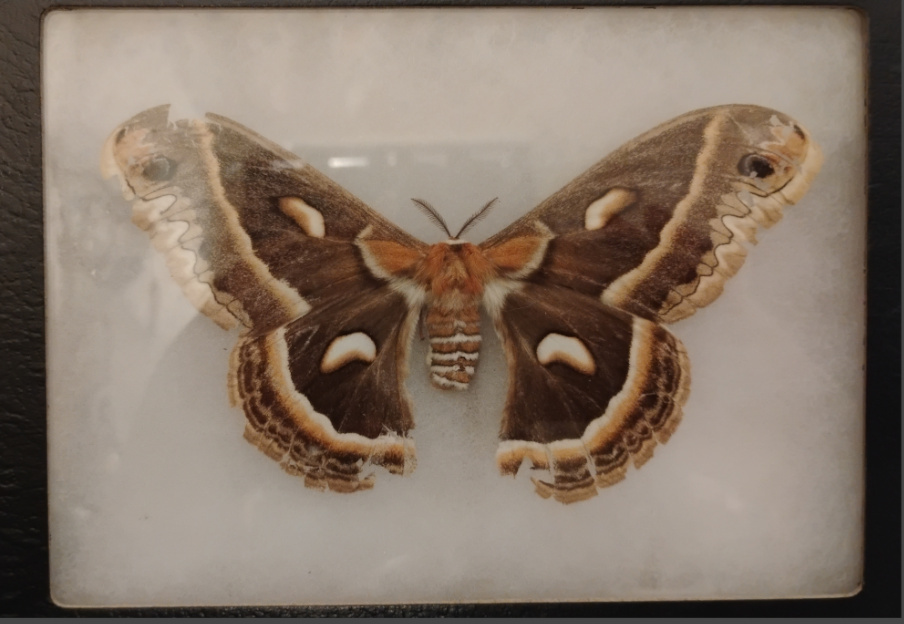
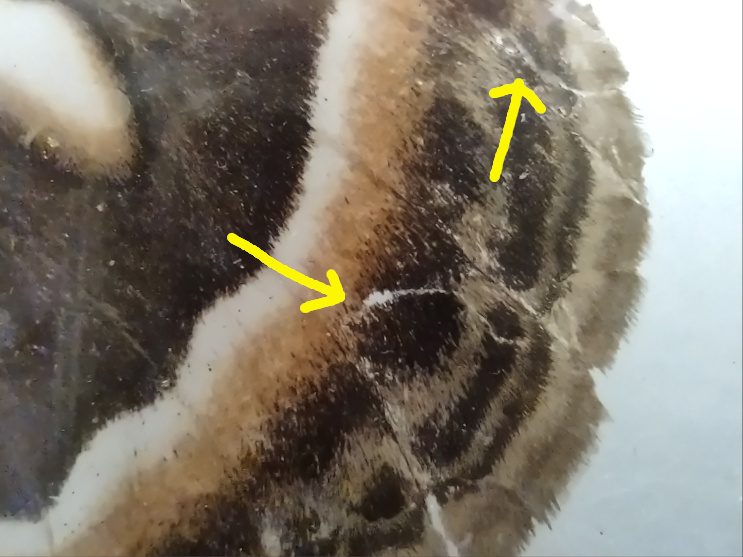
Ok, maybe you can. You're a clever one. Well how about this Cecropia moth--I think she looks pretty good. The right
photo shows where some pieces of wings have been glued back on.
In addition to the tweezers listed on the tools page, you may also need a magnifier and some glues. Below are photos of
my go-to glues for specimen repair. The first one is all purpose gel adhesive
, honestly I have no idea if it is still
available. If not, look for an acid-free thin clear glue that also dries clear and can be applied in very tiny amounts. Mine
came with an ultra tiny needle applicator tip that clogged after the first use. Since then I've just been taking the tip of
pin to apply it to delicate wing edges. I recently saw some glue syringes that come with similar tips that can be replaced.
I've yet to try them, though.
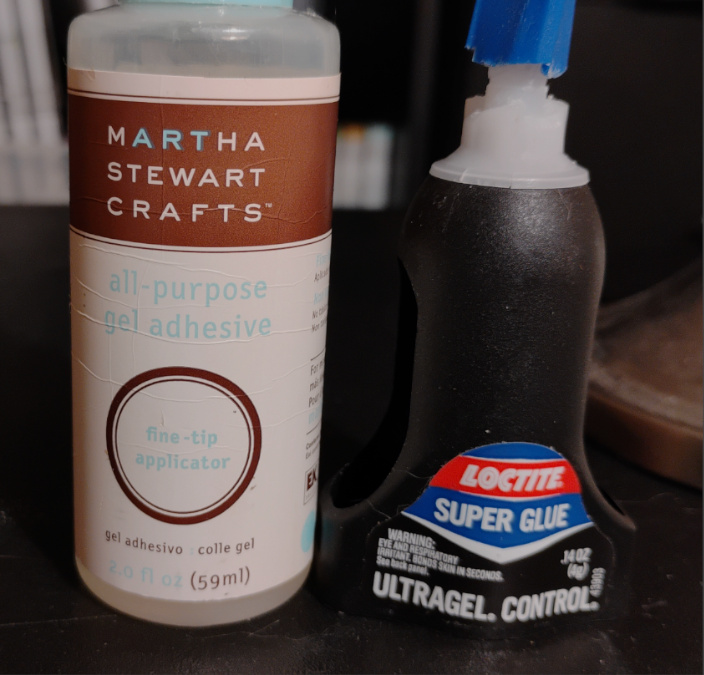
For tougher parts like elytra, legs, or antenna where I need a strong and quicker hold, I have really liked the loctite
ultra gel control. This is a bit pricey for what you seemingly get, but you can get about 1/3 more out of the bottle by
dismantling the plastic casing once you feel like you can't get anymore out.
The blue sides where you press to dispense glue shove the glue toward the top of the bottle, which due to the tube's shape
actually holds the most glue. To remove this blue thing, press at the top of each side until you can work it under the black
housing. Once it's there, slide a fingernail or other thin object between the blue base of the bottle and the black part and
pull. Now you have a lot more glue! It can be tricky to squeeze the tube in the housing which is locked in place with the top
of the bottle. What I usually do is just reach in with some needle nose pliers and squeeze the bottle gently until a little
bubble of glue forms at the tip. Then I just take my insect part with tweezers and just touch it to the bubble of glue, and
re-attach it where it's supposed to be.
The last thing I'll note here is that I find this process much easier once the insect has been spread and dried thoroghly.
It can be pretty difficult to attach a part when wings or other parts are still flexible. If like my cecropia moth, you find
the piece of wing prior to relaxing and spreading, simply flatten the wing piece under a separate piece of vellum and pin it
down. Also, unless you really want to drive yourself crazy or are working with an especially large insect, don't worry too
much about placing say, an antenna at the exact point on the head where it came from. It doesn't have to be perfect, it just
needs to look good enough in your mount to make you happy.
Next: Final Thoughts
....~*~....~*~....~*~....~*~....~*~....~*~....~*~....~*~....~*~....~*~....